This is part 2 of the Thulium series. Visit part 3 or go back to part 1.
We are now in the middle of the exam season. What better time than now to set up file syncing and a personal Git host?
Step 0: Docker CE and Docker Compose
Just to be safe, to ensure that if anything goes wrong with any component being installed we can revert the changes without affecting the base OS, I’ve opted to use Docker images. Docker Compose will be used by Gitea later on. First, we install Docker CE using the instructions here. Next, we create a directory for storing files relevant to Docker. I’ve also added myself to the docker group so that I don’t need to use sudo when running Docker.
$ sudo mkdir -p /srv/docker
$ sudo chown -R jonathan:jonathan /srv/docker
$ sudo usermod -aG docker jonathan
Finally, we install Docker Compose using the instructions here.
Step 1: Syncthing
Syncthing’s documentation lists a few community-contributed Docker packages, but the list was last updated quite some time ago; a quick search on the Docker Store shows a fairly popular image by LinuxServer.io which I’ve used. Creating and running the container is as simple as the usage section suggests, which also describes the arguments of docker create; additional details can be found in Syncthing’s documentation. In short, we need to mount a directory for Syncthing’s configs and for the actual synced files (which appear under /config/Sync within the container by default), provide user and group IDs as found using id jonathan, and allow the ports for the web GUI and syncing.
# create directories for Syncthing configs and actual content
$ mkdir -p /srv/docker/syncthing/config /srv/docker/syncthing/sync

# pull Docker image
$ docker pull linuxserver/syncthing

# create Docker container from image
$ docker create \
    --name=syncthing \
    -v /srv/docker/syncthing/config:/config \
    -v /srv/docker/syncthing/sync:/config/Sync \
    -e PUID=1000 -e PGID=1000 \
    -p 8384:8384 -p 22000:22000 -p 21027:21027/udp \
    --restart=always \
    linuxserver/syncthing
Since I’ve also set up UFW as my firewall, we need to allow Syncthing’s ports through, as described in the documentation.
$ sudo ufw allow 22000/tcp
$ sudo ufw allow 21027/udp
$ sudo ufw reload
Firewall is active and enabled on system startup
$ sudo ufw status
Status: active

To                         Action      From
--                         ------      ----
OpenSSH                    ALLOW       Anywhere
Nginx Full                 ALLOW       Anywhere
22000/tcp                  ALLOW       Anywhere
21027/udp                  ALLOW       Anywhere
222/tcp                    ALLOW       Anywhere
OpenSSH (v6)               ALLOW       Anywhere (v6)
Nginx Full (v6)            ALLOW       Anywhere (v6)
22000/tcp (v6)             ALLOW       Anywhere (v6)
21027/udp (v6)             ALLOW       Anywhere (v6)
222/tcp (v6)               ALLOW       Anywhere (v6)
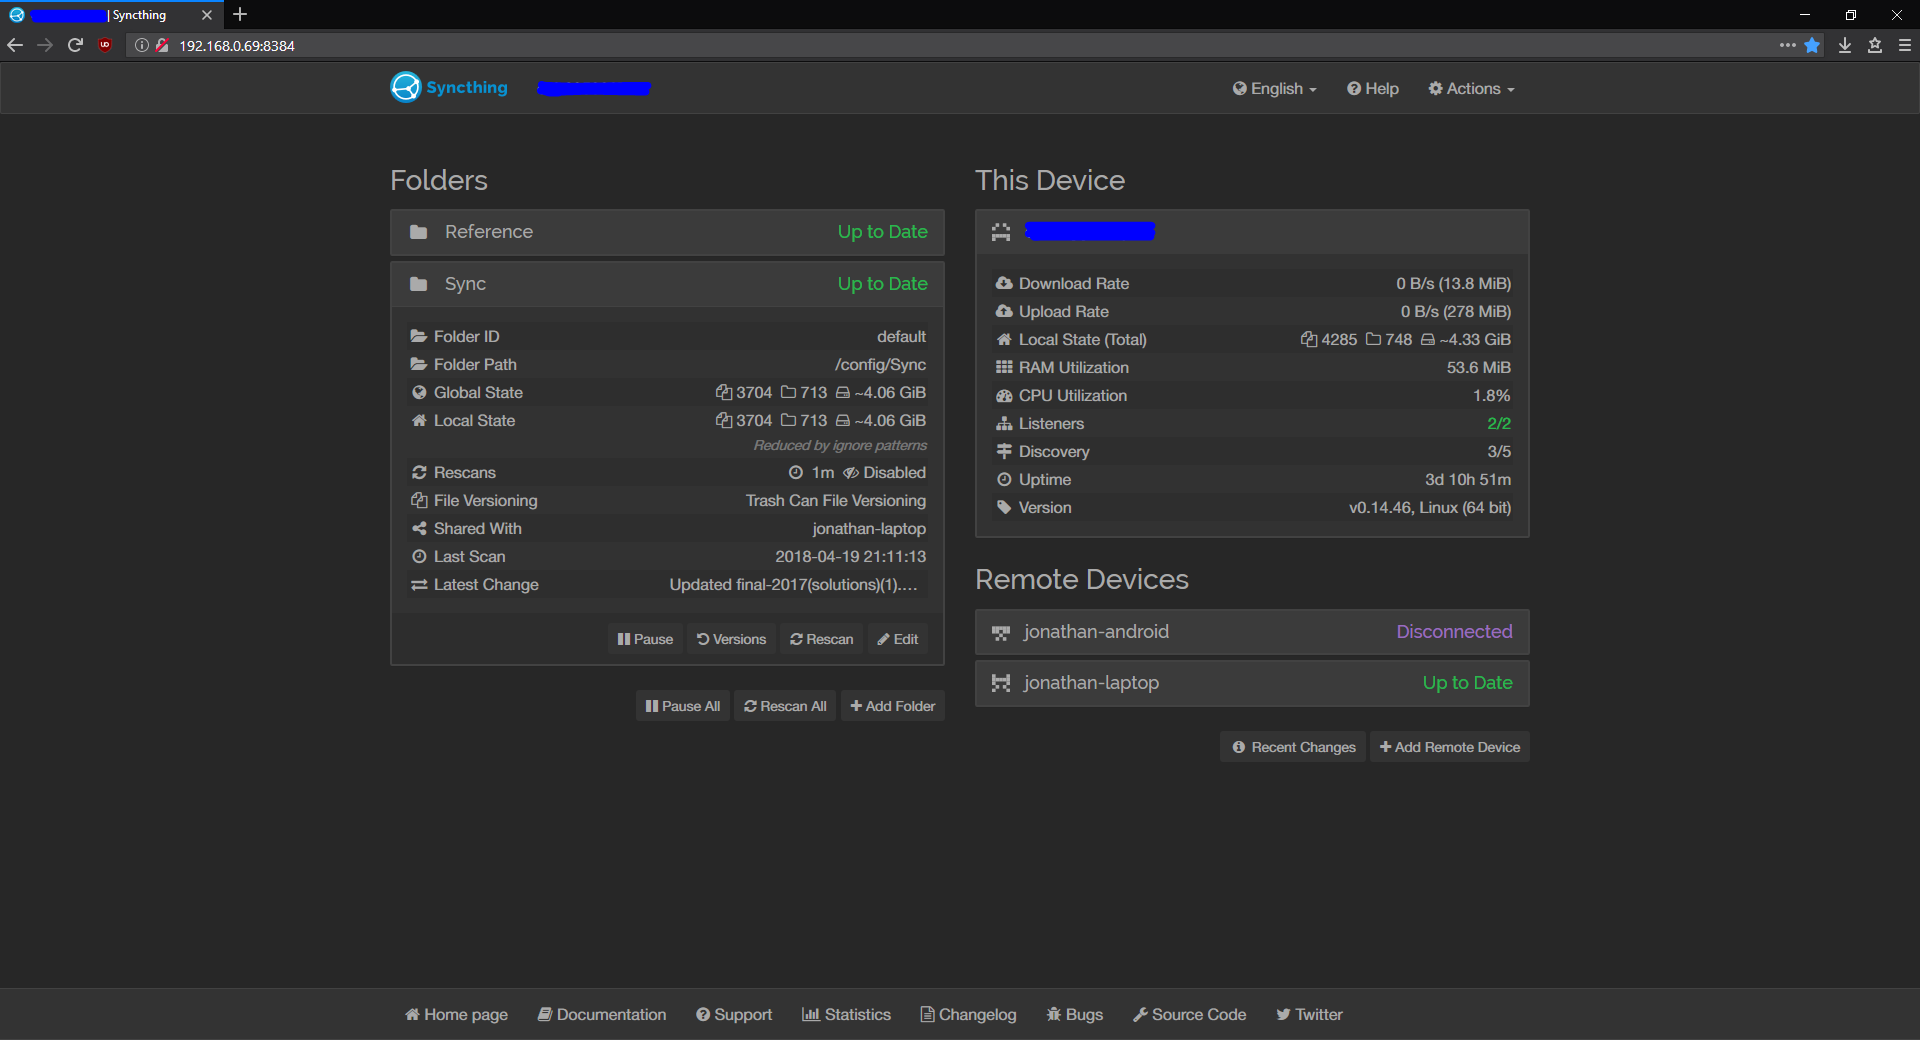
Syncthing’s GUI can now be accessed and set up at localhost:8384, and the files will be synced to /srv/docker/syncthing/sync. The container can be started, stopped, or restarted with docker start/stop/restart syncthing. Since I don’t plan on being able to access the GUI outside of my local network, I won’t do any port forwarding at 8384. Amazingly, Syncthing will continue to work even outside the local network of the server without having to configure anything else!

Syncthing GUI, dark theme
Step 1.5: Web server index
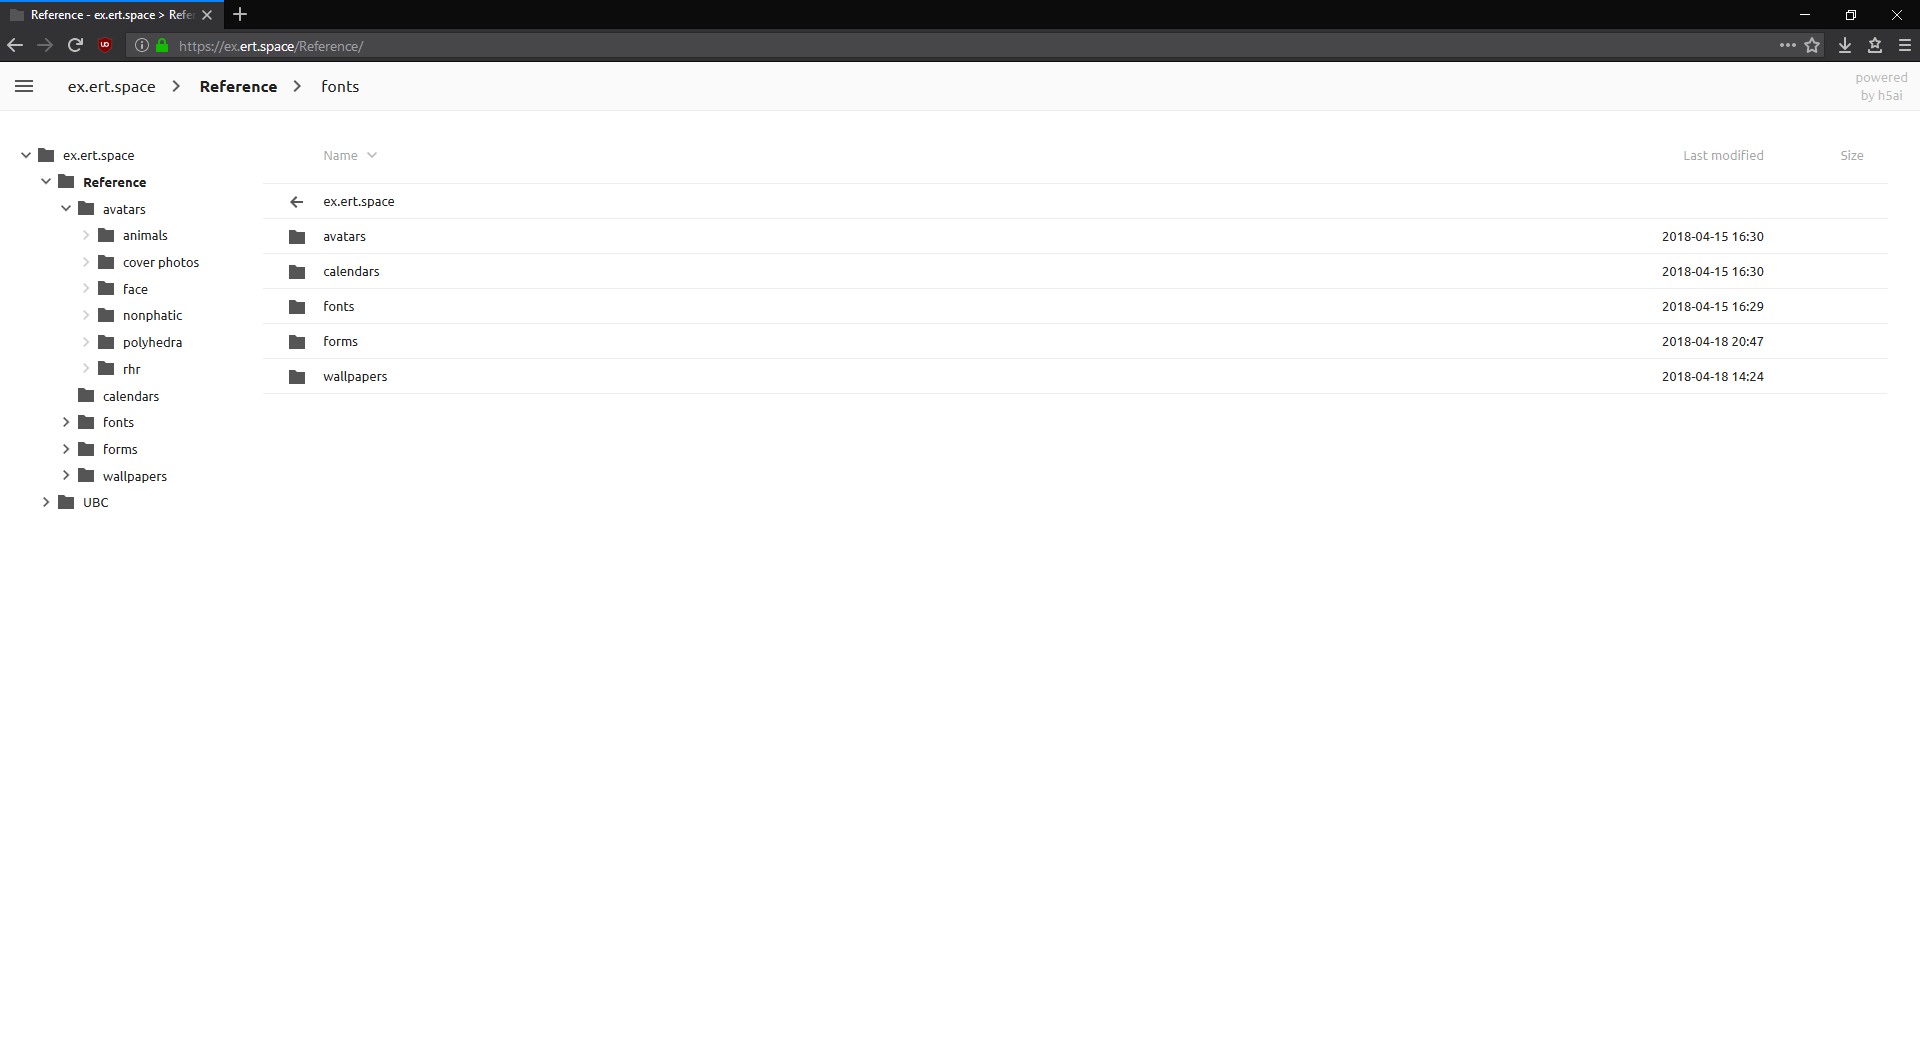
With Syncthing, I can have the files I need synced across my laptop and my phone. However, occasionally I find myself needing to access files on public devices, for instance on a school computer. This list gives a few options for hosting a file index, and I went with h5ai, which provides a simple read-only interface. Because it uses PHP, we need to install it and set up the Nginx configuration correctly, as described here. In particular, we need to ensure that PHP requests are processed correctly.
This Nginx configuration will serve the file index at ex.ert.space. In order to restrict access so that only I can see my files and other people can’t, I’ve also set up basic HTTP authentication as outlined here, which with SSL is sufficient for my purposes. Below is the final Nginx configuration file at /etc/nginx/sites-available/ex.ert.space, to which /etc/nginx/sites-enabled/ex.ert.space is soft-linked.
server {
    listen 80;
    listen [::]:80;
    server_name ex.ert.space;

    # index the files synced by Syncthing
    root  /srv/docker/syncthing/sync;
    index /_h5ai/public/index.php;

    # set up HTTP basic authentication
    auth_basic           "Authentication Required";
    auth_basic_user_file /etc/apache2/.htpasswd;

    location / {
        try_files $uri $uri/ =404;
    }

    # process PHP requests
    location ~ \.php$ {
        include snippets/fastcgi-php.conf;
        fastcgi_pass unix:/run/php/php7.0-fpm.sock;
    }

    location ~ /\.ht {
        deny all;
    }
}

File index at ex.ert.space
Finally, we enable the configuration, reload Nginx, and run Certbot as in Thulium Part 1 to obtain an SSL certificate for ex.ert.space.
$ sudo ln -s /etc/nginx/sites-available/in.ert.space /etc/nginx/sites-enabled/in.ert.space
$ sudo systemctl reload nginx
$ sudo certbot --nginx -d ex.ert.space
In the future I may switch from h5ai to a different app to also be able to upload files, but this was a good experience in learning about using PHP and basic authentication with Nginx.
Step 1.75: Nextcloud
As of June 2018, I’ve replaced Syncthing with Nextcloud since it suits my needs much better, resembling Google Drive more. It uses Docker Compose with a pretty simple setup:
version: "2"

services:
  app:
    image: nextcloud
    container_name: nextcloud
    ports:
      - 8080:80
     volumes:
      - ./data:/var/www/html/data
      - ./config:/var/www/html/config
      - ./themes:/var/www/html/themes
      - ./apps:/var/www/html/custom_apps
    restart: always
The Nginx is also a simple reverse proxy similar to Gitea’s down below, set to redirect from ex.ert.space, replacing the file index I had before. Since it syncs over HTTPS now, I can remove the firewall rules I previously set up for Syncthing.
$ sudo ufw delete allow 22000/tcp
$ sudo ufw delete allow 21027/udp
Step 2: Gitea
In addition to my GitHub account, I also have an account on GitLab for hosting repositories that are private due to sensitive content (e.g. specific information about my previous workplace, or assignment work for school courses), since private repos are free there; now I can host these private repos myself. Gitea was recommended to me by someone on Mastodon as a lightweight client; in retrospect, Gogs (from which Gitea is forked) may have been a better choice due to its more extensive documentation, but I managed to make Gitea work for me.
Gitea provides an official Docker image, as well as documentation for installing with Docker; below is the docker-compose.yml file in /srv/docker/gitea (which I’ll refer to from here on as $GITEA). As with Syncthing, the UID and GID are that of my user, jonathan; the GUI will be available at localhost:3000, while pulling or pushing with SSH needs to be done over port 222.
version: "2"

networks:
    gitea:
        external: false

services:
    server:
        image: gitea/gitea:latest
        container_name: gitea
        environment:
            - USER_UID=1000
            - USER_GID=1000
            - RUN_MODE=prod
        restart: always
        networks:
            - gitea
        volumes:
            - .:/data
        ports:
            - 3000:3000
            - 222:22
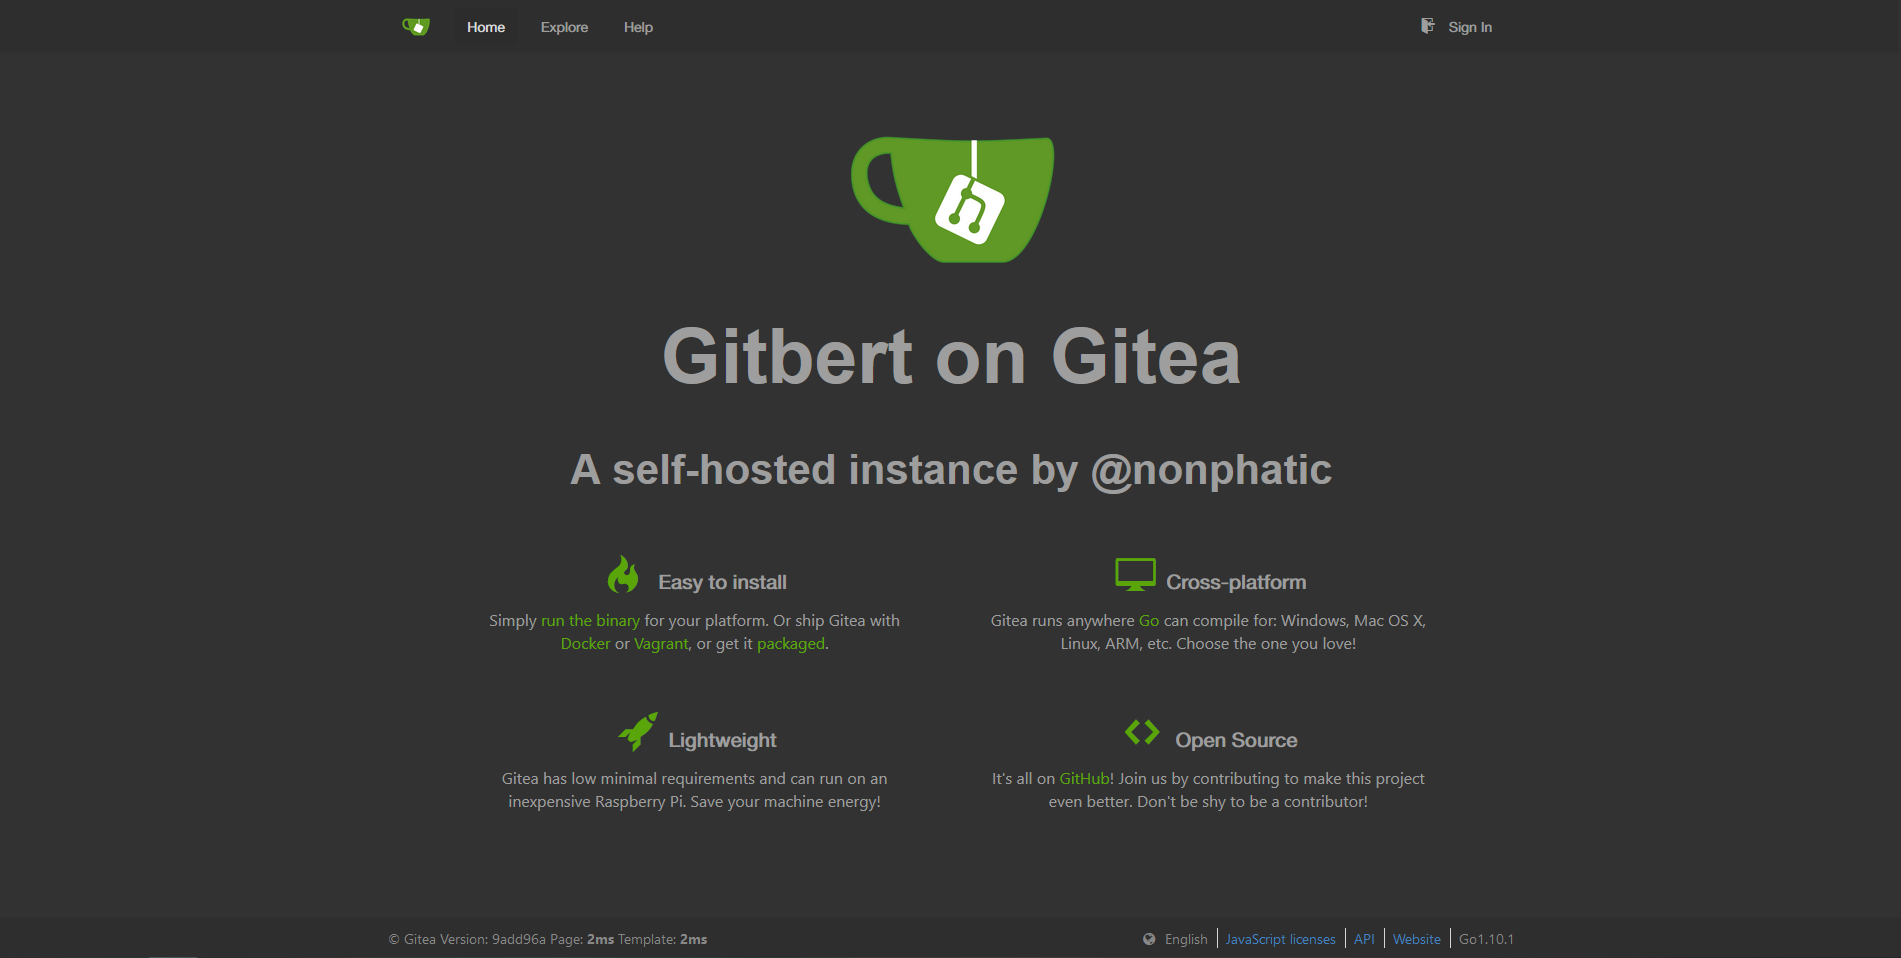
After running docker-compose up -d to start the container in the background, finishing the setup via the GUI will create a git user home directory under $GITEA/git, a directory for SSH keys under $GITEA/ssh, and a $GITEA/gitea directory for configurations. This is also the directory pointed to by the $GITEA_CUSTOM environment variable within the Docker container and referred to as the custom folder in the customization documentation. For instance, to change the main title of the home page, I’ve copied home.templ from Gitea’s templates on GitHub into $GITEA/gitea/templates/ for modification, as well as locale_en-US.ini into $GITEA/gitea/options/locale/ to edit app_desc, which is displayed by the subtitle. I’ve also added a dark theme by postpending the contents of styles.css to the original index.css in $GITEA/gitea/public/css/.

Gitea home page with title: “Gitbert on Gitea”
A final note on configurations: all the settings chosen during the installation are saved in $GITEA/conf/app.ini, and a full list of settable values can be found here.
To be able to access Gitbert from an external network by going to gitb.ert.space without having to open up port 3000, we set up a reverse proxy with Nginx. ArchWiki’s Gitea article has a helpful section on doing this; Certbot will set up the SSL certificates for us, so I’ve removed those lines from the given example. Below is /etc/nginx/sites-available/gitb.ert.space. As usual, afterwards we soft-link to sites-enabled and run certbot.
server {
    listen 80;
    listen [::]:80;
    server_name gitb.ert.space;
    location / {
        proxy_pass http://localhost:3000;
        proxy_set_header Host $host;
        proxy_set_header X-Real-IP $remote_addr;
    }
}
And that’s it! Gitbert can now be used like an ordinary Git host to clone, pull, and push. Note that since we’re using Docker, we have to set the remote URL to ssh://git@gitb.ert.space:222/nonphatic/<repo>.git to use port 222 instead, and we need to open up port 222 in the firewall. The URL displayed in Gitea for cloning can be changed by setting SSH_PORT = 222 in $GITEA/conf/app.ini.
References
- Installing Docker CE: https://docs.docker.com/install/linux/docker-ce/ubuntu/
- Installing Docker Compose: https://docs.docker.com/compose/install/#install-compose
- LinuxServer Docker image for Syncthing: https://store.docker.com/community/images/linuxserver/syncthing
- Syncthing documentation: https://docs.syncthing.net/
- Nextcloud Docker image: https://github.com/nextcloud/docker
- Awesome list of software for self-hosted services: https://github.com/Kickball/awesome-selfhosted
- h5ai: https://larsjung.de/h5ai/
- LEMP stack setup: https://www.digitalocean.com/community/tutorials/how-to-install-linux-nginx-mysql-php-lemp-stack-in-* ubuntu-16-04
- NGINX HTTP basic authentication: https://docs.nginx.com/nginx/admin-guide/security-controls/configuring-http-basic-authentication/
- Gitea Docker image: https://store.docker.com/community/images/gitea/gitea
- Gitea documentation: https://docs.gitea.io/en-us/
- Gitea GitHub, from which to copy configurations, templates, and options like locale: https://github.com/go-gitea/gitea
- ArchWiki entry on Gitea: https://wiki.archlinux.org/index.php/Gitea
- Gitea dark theme: https://gitea.werefoxsoftware.com/shadow8t4/Gitea-Dark-Theme
Next: Thulium part 3


