This is part 1 of the Thulium series. Go to part 2 or jump to part 3.
Exam season is coming up now, so naturally I’ve decided to spend my time setting up a home server. I’m hoping to eventually be able to replace Google Drive with a self-hosted instance of perhaps NextCloud or SyncThing, but we’ll start small first. I’ve installed Ubuntu Server 16.04.4 LTS (Xenial Xerus), which was sufficiently straightforward that I won’t elaborate on it except to say that using an LVM caused me to be unable to boot into the OS, so don’t do that.

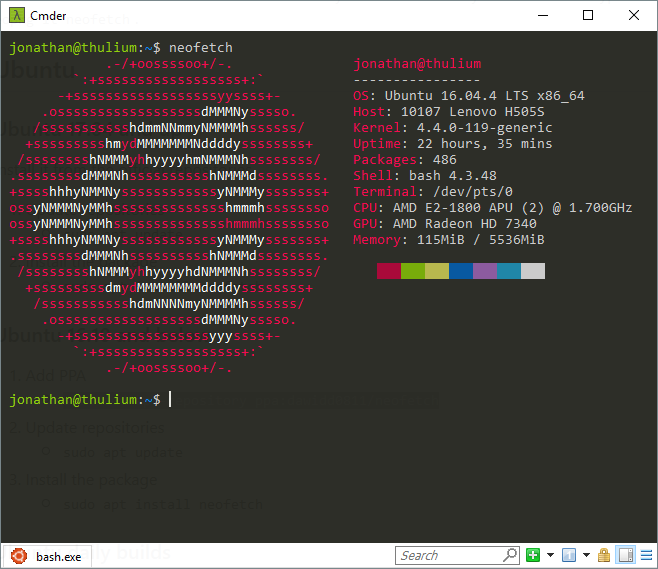
OS and hardware details from Neofetch
Step 0: Obtaining a domain name
A quick gander on Gandi.net’s domain name prices tells us that cheap domains include .space, .pw, and interestingly, some xx.uk domains. I went with ert.space solely for the ability to pun on Hilbert space with the abundance of words ending in -ert (Banach space, unfortunately, was out of the question, as ach.space was taken, and the only words ending in -nach are spinach and coronach).
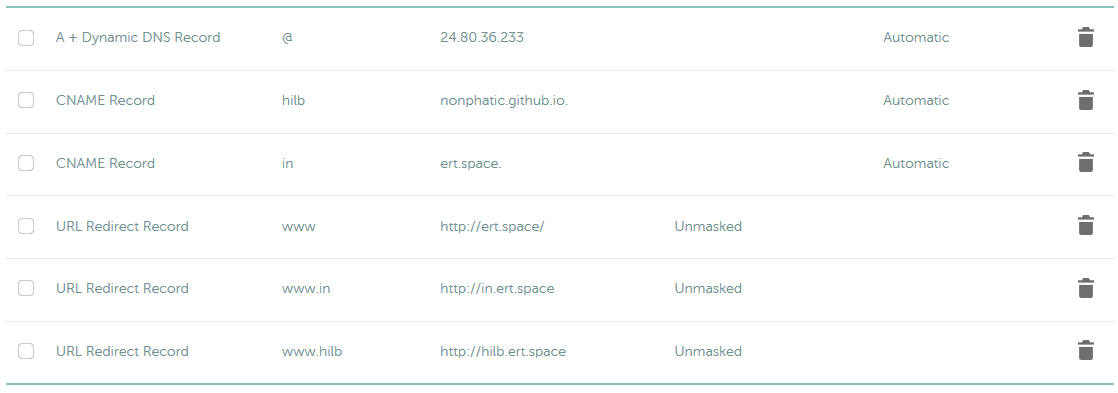
As we can universally agree on, www domains are now aesthetically displeasing, so I’ve set www redirects, as well as records for hilb.ert.space to my existing GitHub page and for in.ert.space to ert.space to my public IP address.

Records for DDNS, CNAME, redirects
A daily cron task at /etc/cron.daily/ddns-update using Namecheap’s API keeps the DDNS record accurate.
#!/bin/sh
curl --silent --output /dev/null "https://dynamicdns.park-your-domain.com/update?host=@&domain=ert.space&password=<REDACTED>"
Step 1: SSH server with OpenSSH
SSH requests to ert.space (and in.ert.space — unfortunately, SSH doesn’t know which domain the requests come from) will reach the router, but the router needs to know to which computer in the local network to send it to. First, the server needs a local static IP address for the router to refer to, which can be set in /etc/network/interfaces:
auto enp1s0
iface enp1s0 inet static
    address 192.168.0.69
    netmask 255.255.255.0
    network 192.168.0.0
    gateway 192.168.0.1
    broadcast 192.168.0.255
    dns-nameservers 8.8.8.8 8.8.4.4
enp1s0 is the name of the network card, which can be found with lshw -class network, shown under “logical name”. The IP address of the router, by default, begins with 192.168.0, so we set network to .0, gateway to .1, and broadcast to .255; netmask is 255.255.255.0. (There’s probably some reason for those.) 8.8.8.8 and 8.8.4.4 are Google’s DNS servers. I chose .69 for the actual IP address (and thulium, the 69th element, for the server name) because it’s nice. sudo ifdown -v enp1s0 && sudo ifup -v enp1s0 will effectuate the changes.
Next, the router needs to forward requests to the public IP address’ port 22 (and 80 for HTTP, 443 for HTTPS) to the server. I had a lot of trouble with this at first because I was trying to do the port forwarding on a router which itself was connected to the router that was actually connected directly to the internet, and naturally that didn’t work. The reason why this setup existed was because the Wi-Fi was set up on the secondary router, but then we received a modem that was also a router (a mouter? a roudem?), and no-one bothered to set up Wi-Fi on the new router, opting instead for the easy route.

Forwarded ports set up on an Arris router
At last, I can SSH into the server from an external network. For added security, I’ve disabled password authentication by copying my SSH key using ssh-copy-id jonathan@ert.space, then uncommenting in /etc/ssh/sshd_config the line PasswordAuthentication no. I’ve also enabled the firewall, but first we have to allow SSH through (along with Nginx for later).
$ sudo ufw app list
Available applications:
  Nginx Full
  Nginx HTTP
  Nginx HTTPS
  OpenSSH
$ sudo ufw allow "OpenSSH"
$ sudo ufw allow "Nginx Full"
$ sudo ufw enable
Firewall is active and enabled on system startup
$ sudo ufw status
Status: active

To                         Action      From
--                         ------      ----
OpenSSH                    ALLOW       Anywhere
Nginx Full                 ALLOW       Anywhere
OpenSSH (v6)               ALLOW       Anywhere (v6)
Nginx Full (v6)            ALLOW       Anywhere (v6)
Step 2: Web server with NGINX
I currently have a static website hosted on GitHub Pages; but now I can host it myself! The most common web servers are Apache and Nginx; I chose Nginx because Mastodon also uses Nginx, and hosting a Mastodon instance would be an interesting project for later.
After installing Nginx, first we need a place to put the files. The traditional location is at /var/www/html/, but I’m instead following FHS’s recommendations to put it under /srv/.
$ sudo mkdir -p /srv/www/in.ert.space
$ sudo chown -R jonathan:jonathan /srv/www/in.ert.space
$ git clone git@github.com:nonphatic/nonphatic.github.io.git /srv/www/in.ert.space
Next, a configuration needs to be added for the site under /etc/nginx/sites-available/in.ert.space:
server {
    listen 80;
    listen [::]:80;
    root /srv/www/in.ert.space;
    server_name in.ert.space;
    error_page 404 /404.html;
    location / {
        try_files $uri $uri/ =404;
    }
}
A soft link in /etc/nginx/sites-enabled/ will enable the site.
$ sudo ln -s /etc/nginx/sites-available/in.ert.space /etc/nginx/sites-enabled/in.ert.space
$ sudo systemctl reload nginx
The site is now available at in.ert.space! But some characters aren’t encoded correctly. To fix this, add charset utf-8; to the http block in /etc/nginx/nginx.conf.
To enable HTTPS instead of HTTP, we need an SSL certificate, which I’ve gotten from Let’s Encrypt. After following this tutorial, I’ve also added a daily cron task at /etc/cron.daily/certbot-renew to attempt a renewal daily, since the certificate expires after 90 days.
#!/bin/sh
certbot renew --quiet
service nginx restart
And that’s it! SSH, a website, and an exam in two days.

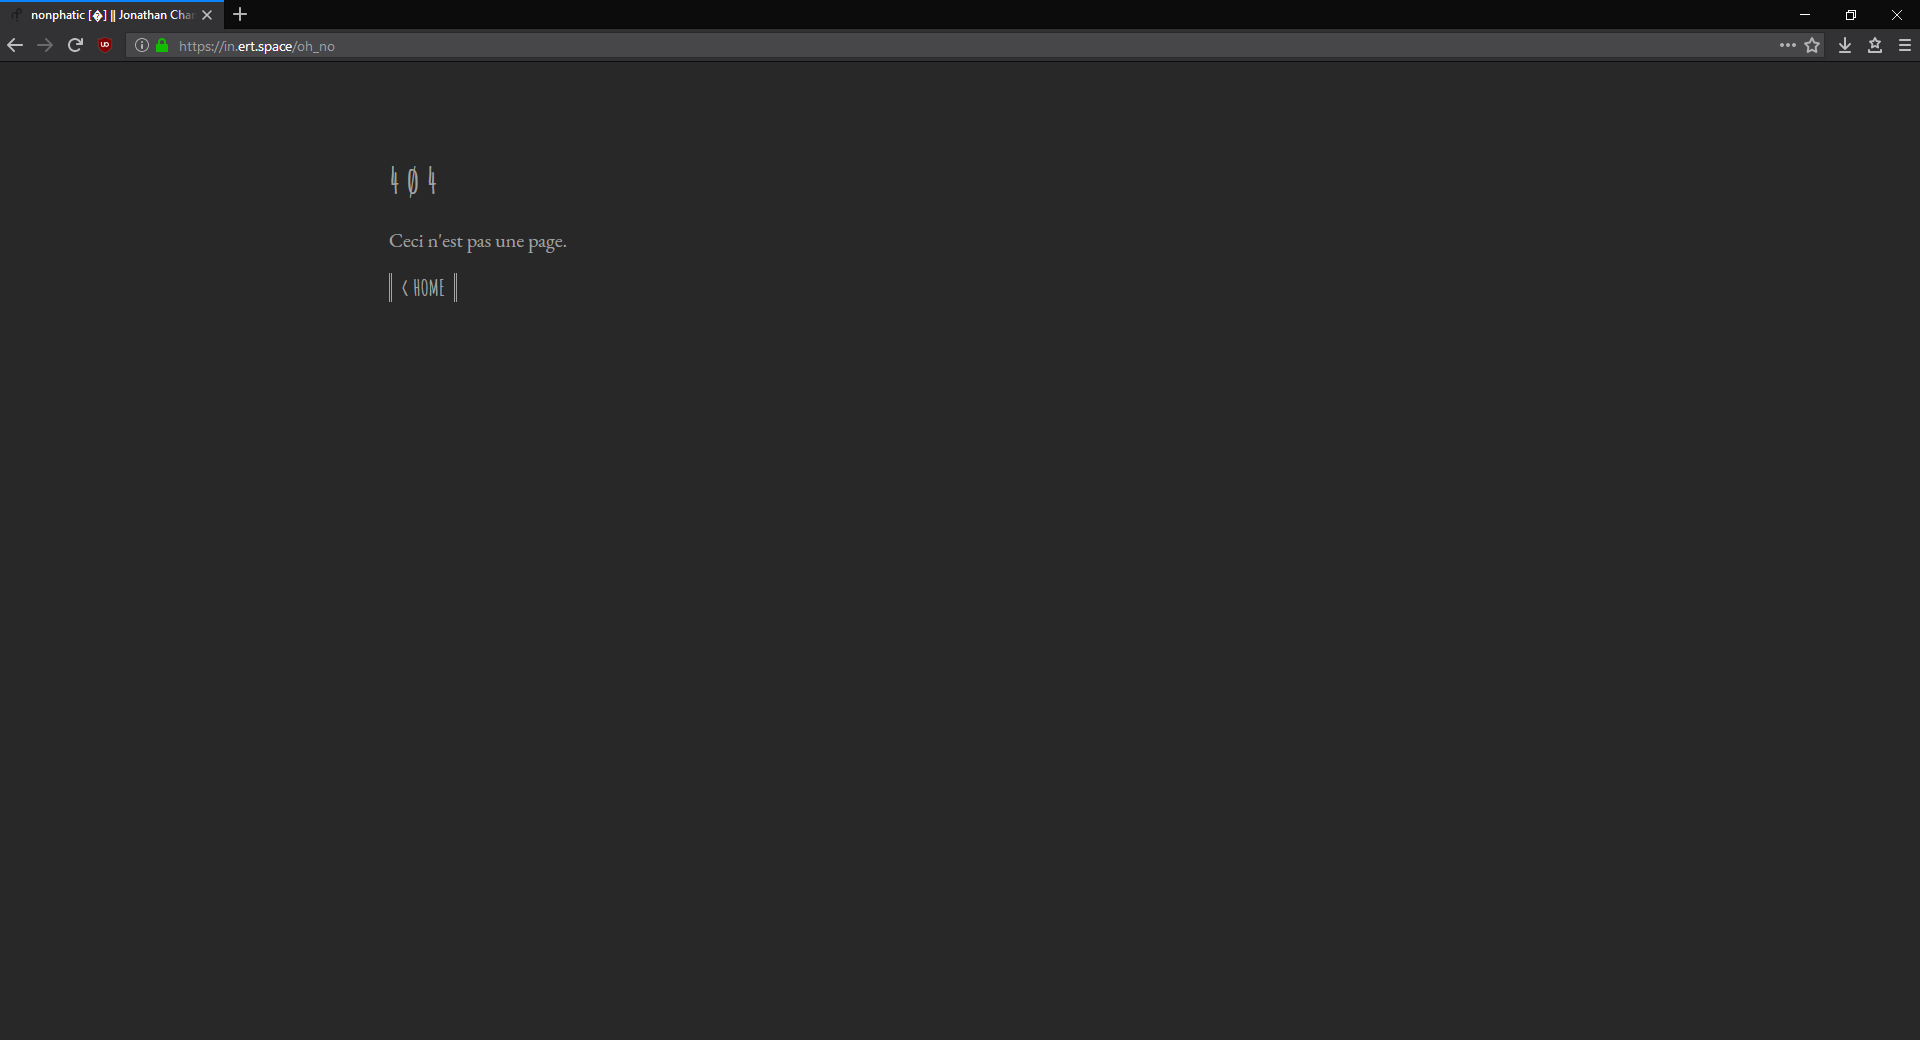
Custom 404 page for in.ert.space, complete with cool fonts, a nice shade of black, and U+FFFD
References
- DDNS: https://www.howtogeek.com/66438/how-to-easily-access-your-home-network-from-anywhere-with-ddns/
- Port forwarding: https://www.howtogeek.com/66214/how-to-forward-ports-on-your-router/
- Static IP: https://askubuntu.com/a/470245
- UFW: https://help.ubuntu.com/lts/serverguide/firewall.html
- NGINX: https://nginx.org/en/docs/beginners_guide.html
- More NGINX: https://www.digitalocean.com/community/tutorials/how-to-install-nginx-on-ubuntu-14-04-lts
- Certbot: https://www.nginx.com/blog/using-free-ssltls-certificates-from-lets-encrypt-with-nginx/
Next: Thulium part 2


